
Hang wallpaper like a boss
Tim Ryan • August 3, 2020

Hanging wallpaper like a pro requires careful preparation, attention to detail, and patience. Here's a step-by-step guide to help you achieve a flawless wallpaper installation:

PREPARATION
Gather Supplies:
Ensure you have all the necessary tools and materials including wallpaper, adhesive, smoothing tool (such as a wallpaper brush or plastic smoother), tape measure, utility knife or wallpaper scissors, level, pencil, sponge, and a bucket for water.
Prepare the Wall:
Clean the wall surface thoroughly to remove any dust, grease, or residues. A clean wall ensures better adhesion and a smoother finish.
Repair any imperfections such as cracks or holes and allow them to dry completely before starting.
Measure and Cut:
Measure the height of your wall and add a few inches to allow for trimming at the ceiling and baseboard.
Roll out the wallpaper on a clean surface and measure and cut strips according to your wall height, ensuring they match the pattern if applicable.
APPLICATION
Apply Adhesive:
Follow the manufacturer's instructions for mixing and applying the adhesive.
Follow the manufacturer's instructions for mixing and applying the adhesive.
Use a paint roller or brush to apply adhesive evenly on the back of the wallpaper strip, ensuring complete coverage.
Hang the Wallpaper:
Start in a corner or at a focal point where the wallpaper pattern will look best.
Align the wallpaper strip with the plumb line or level to ensure it hangs straight.
Carefully press the top of the wallpaper against the wall and use a smoothing tool to eliminate air bubbles and wrinkles as you work your way down the strip.
Match Patterns:
If your wallpaper has a pattern, make sure each strip is aligned correctly with the previous one. This may involve overlapping strips slightly to match patterns before trimming the excess.
Trim and Smooth:
Use a sharp utility knife or wallpaper scissors to trim excess wallpaper at the ceiling and baseboard.
Smooth the edges with a smoothing tool or damp sponge to ensure a tight fit and to remove any excess adhesive.
FINISHING TOUCHES
Repeat and Align:|
Continue hanging subsequent strips of wallpaper, ensuring each one is aligned and applied with care.
Clean Up:|
Wipe away any excess adhesive with a damp sponge before it dries.
Remove any painter's tape used for protection.
Allow to Dry:
Allow the wallpaper to dry completely according to the manufacturer's instructions before moving or replacing furniture.
Allow the wallpaper to dry completely according to the manufacturer's instructions before moving or replacing furniture.
TIPS FOR SUCCESS
Plan Ahead:
Measure carefully and consider the layout of the room to minimize waste and ensure pattern continuity.
Work Methodically:
Take your time to apply each strip evenly and smoothly.
Check for Air Bubbles:
Smooth out any air bubbles as you go to prevent imperfections.
Double-Check Alignment:
Regularly use a level or plumb line to ensure each strip is straight and aligned correctly.
Patience is Key:
Wallpapering can be time-consuming, but the results are worth the effort.
By following these steps and tips, you can achieve a professional-looking wallpaper installation that enhances the aesthetic of your space "like a boss."

Choosing the right lamp for your space can be a difficult task. What size? What shape? What pricepoint? And so much more... Let us help you make it easy.
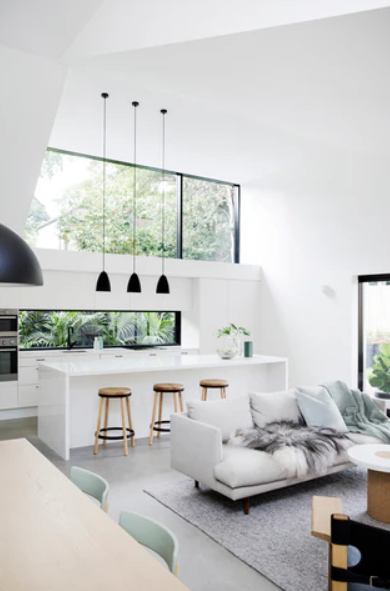
Choosing the right colors for your living room can greatly impact the overall ambiance and feel of the space. Here are some steps and considerations to help you select the perfect living room colors: 1. Consider the Mood and Atmosphere: Think about the mood you want to create in your living room. Do you prefer a cozy, intimate feel, or a bright and airy atmosphere? Different colors can evoke different emotions and vibes. 2. Evaluate Natural Light: Take note of how much natural light the room receives. Rooms with ample natural light can generally handle darker colors without feeling too closed in, while rooms with less natural light might benefit from lighter shades to make the space feel more open and airy.
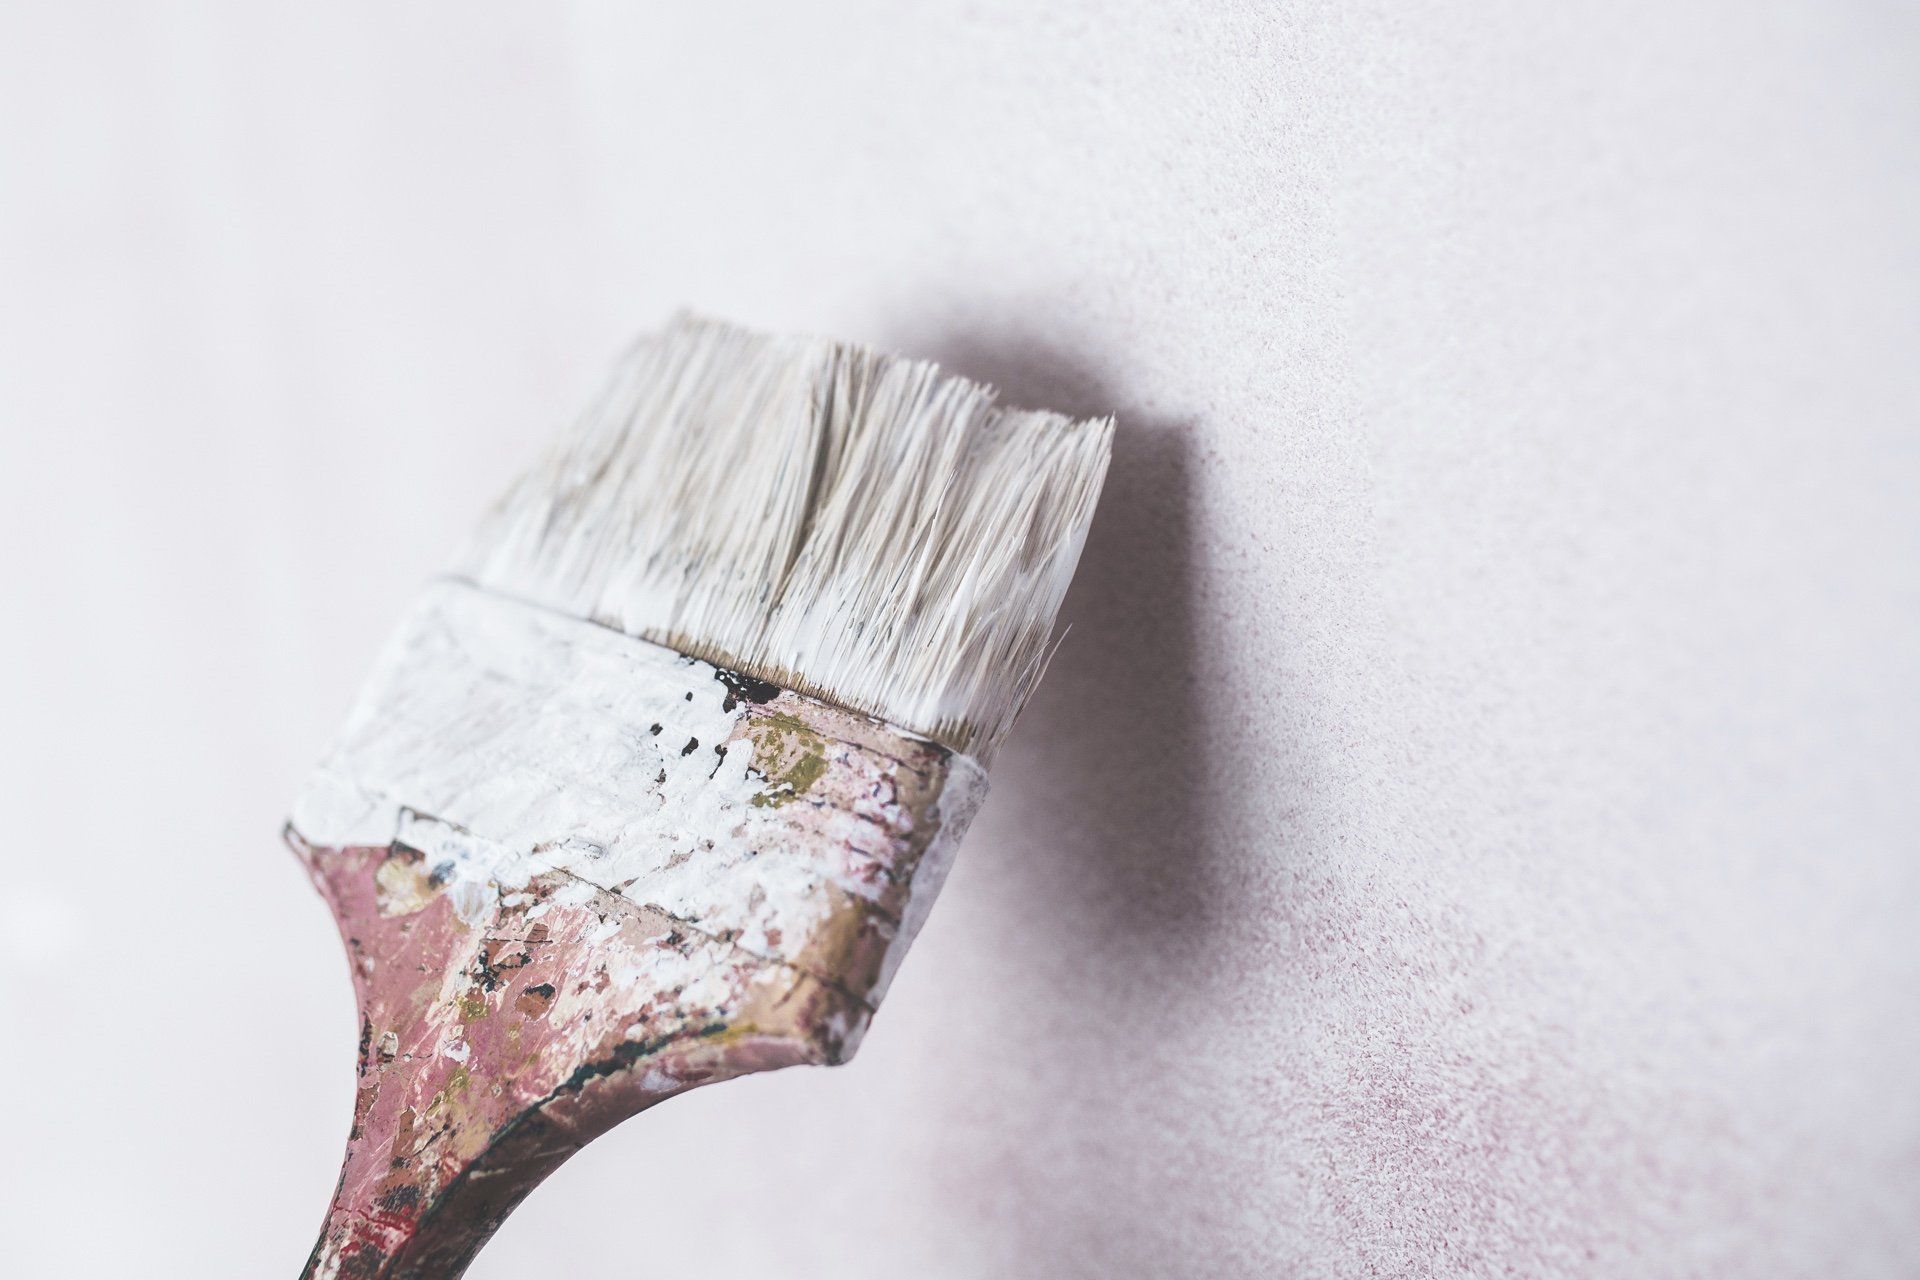
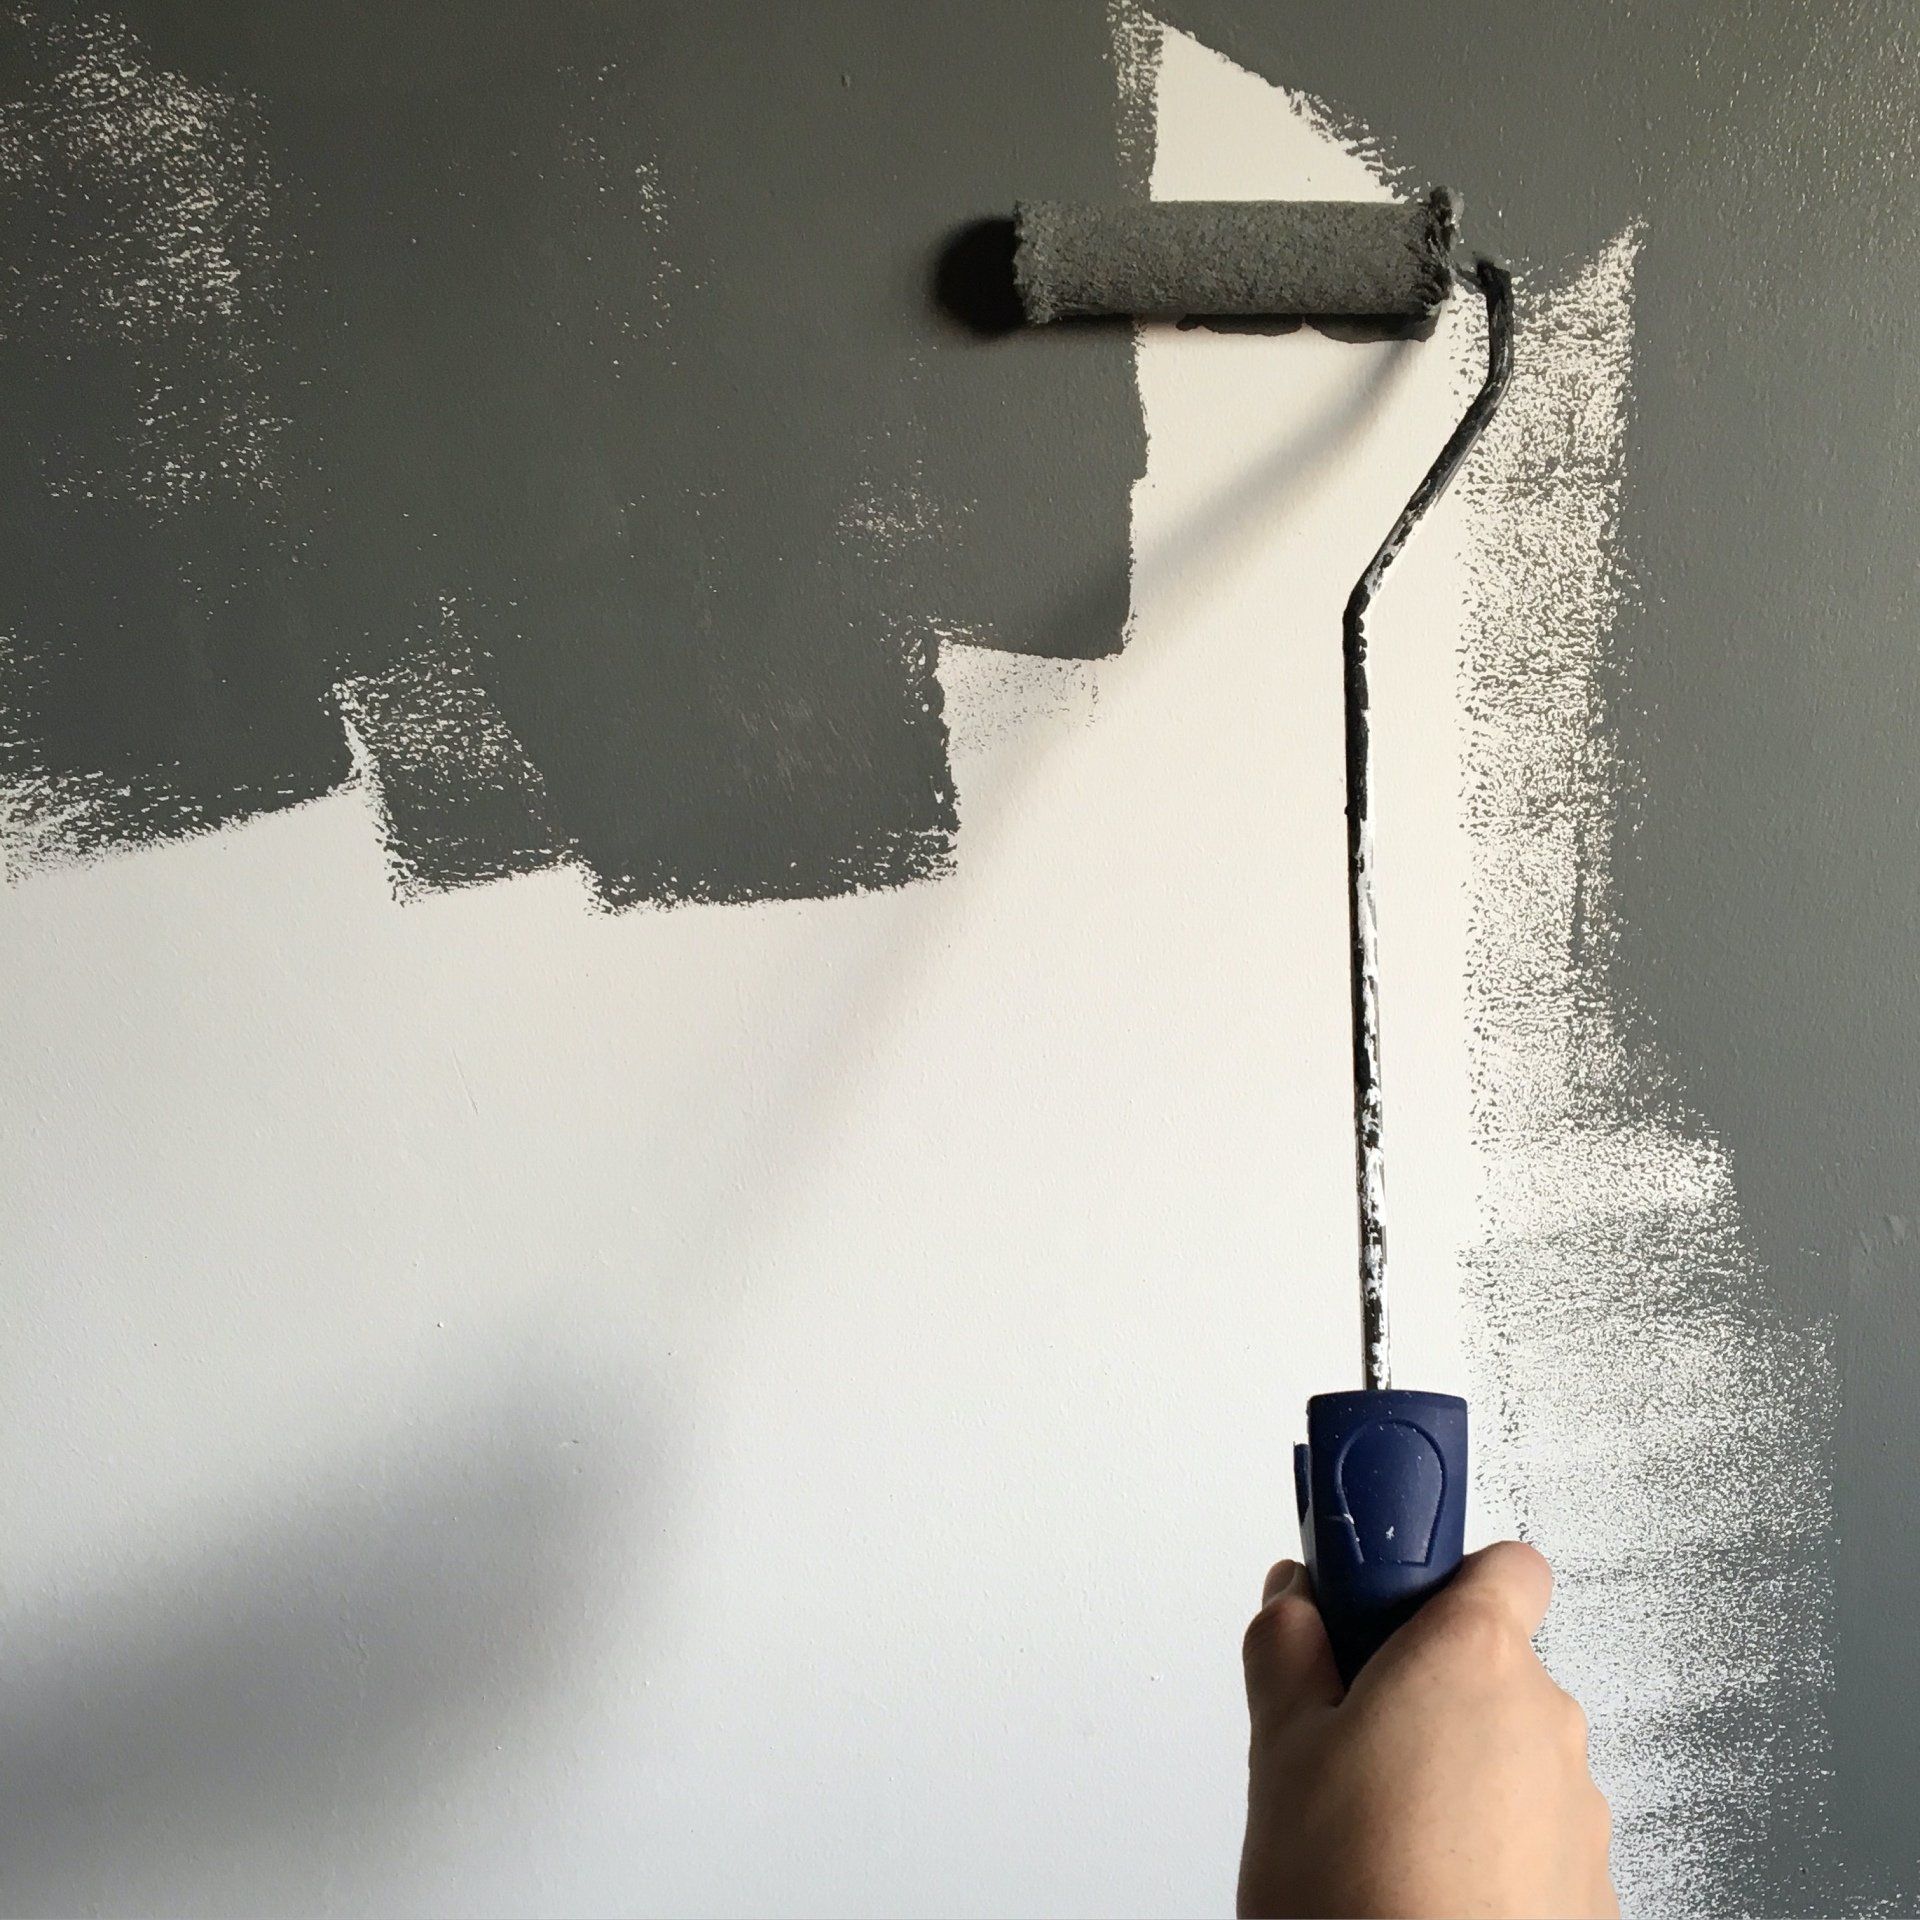
Preparing walls for painting is essential for achieving a smooth and long-lasting finish. Here’s a step-by-step guide to help you get your walls ready: